HELP GUIDE
×
Menu
Quick Guides
Statement Menu (Index to Financial Statements)
 
 
Statement Menu (Index to Financial Statements)
1
Hide/Show index layout
1. Hide/Show index layout
Show/Hide Table of Contents headings and options.
2
Help guide
2. Help guide
Click on this button to learn more about the Statement Menu settings.
3
Space above from top of page to index heading
3. Space above from top of page to index heading
The spacing can be set in the Page Options section of the Home menu. Select the spacing from the drop-down menu to override the Home menu setting.
4
Space above
4. Space above
Change the spacing between the page heading and the Table of Contents body.
5
Spacing between content
5. Spacing between content
Change the spacing between Statement menu items.
6
Print page numbers
6. Print page numbers
Choose to print or skip the page number references on the Table of Contents.
7
Footer for table of contents
7. Footer for table of contents
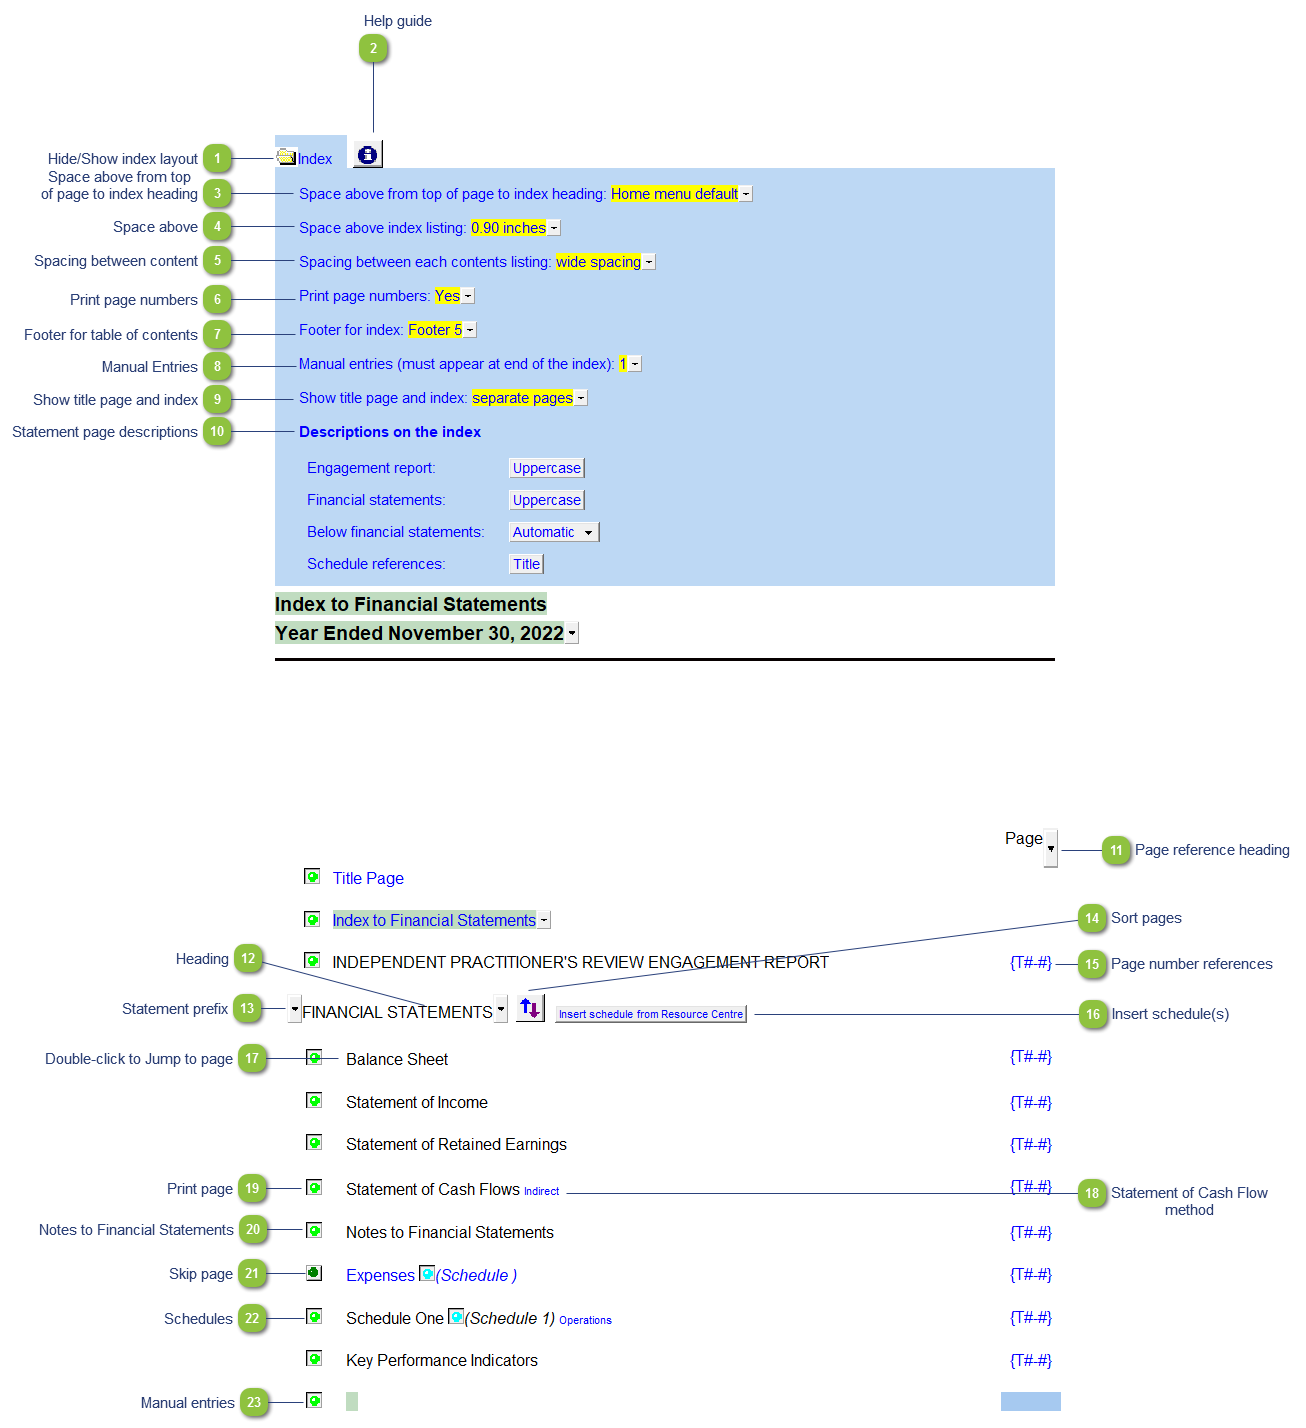
Set a footer to use for the Table of Contents. Footer 9 is blank by default and can be tailored in the HF module in the Resource Centre should you wish to show an alternative footer to the default Footer 5. Please contact Jazzit support for more information on how to tailor the headers and footers.
8
Manual Entries
8. Manual Entries
Add manual lines to the Table of Contents for pages not present on the financial statements. This could be external documents not created using Jazzit or Jazzit Working Papers located outside of the financial statements.
9
Show title page and index
9. Show title page and index
Setting which allow the Title Page and Index Page to appear on a single page
10
Statement page descriptions
10. Statement page descriptions
Set the formatting of various descriptions in the index.  (Title vs. UpperCase)
11
Page reference heading
11. Page reference heading
Choose an alternative heading for the page reference heading.
12
Heading
12. Heading
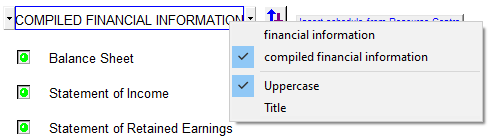
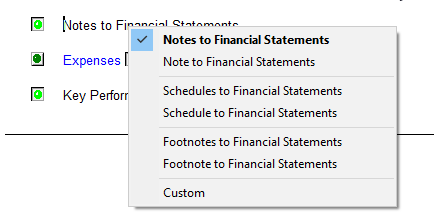
The heading can be skipped by selecting the blank option from the popup menu. This way your Table of Contents will show as a continuous list. Right-click on the description for more formatting options. The 'financial information' option is available when the FS is set to Compilation in the Engagement section of the Home menu. This setting is shared with the Title Page.
 
13
Statement prefix
13. Statement prefix
The statement prefix setup in the Page options section of the Home Menu will show here. Use the popup menu to select a prefix description if you ONLY want to show it on the Table of Contents.
14
Sort pages
14. Sort pages
Click to change the order of the pages. Note that any statement not set to print will be ignored.
15
Page number references
15. Page number references
Automatic page number references will show as T#-# tags. Page number references can be viewed when printed or in Print Preview (F4) mode.
16
Insert schedule(s)
16. Insert schedule(s)
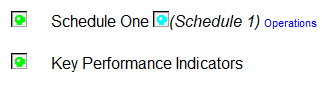
Click on this button to insert a new schedule from the Resource Centre. You can insert up to twenty schedules (choose among 6 different formats) along with a Management's Responsibility letter, a Key Performance Indicator schedule and the Statement of Comprehensive Income.
17
Double-click to Jump to page
17. Double-click to Jump to page
Double-click on a page description to jump to the indicated page.
18
Statement of Cash Flow method
18. Statement of Cash Flow method
Indicates what cash flow method is selected. This is changed on the Statement of Cash Flow. Refer to the Statement of Cash Flow for more information.
19
Print page
19. Print page
A bright green icon indicates that the page will be included in the Jazzit financial statements.
20
Notes to Financial Statements
20. Notes to Financial Statements
Right-click here to customize heading text and formatting.
 
21
Skip page
21. Skip page
A dark green icon indicates that the page will not be included in the financial statements. This switches the page off and it will not be visible.
22
Schedules
22. Schedules
Schedules added to the statements will appear on Table of Contents. Use the Sort () button to move the schedules to the desired position on the Table of Contents.
23
Manual entries
23. Manual entries
Manual entries added are shown at the bottom of the Table of Contents. These cannot be sorted with the rest of the pages but can be sorted with other manual entries. Enter the description into the green input cell. The page number references needs to be manually entered into the blue input cell.