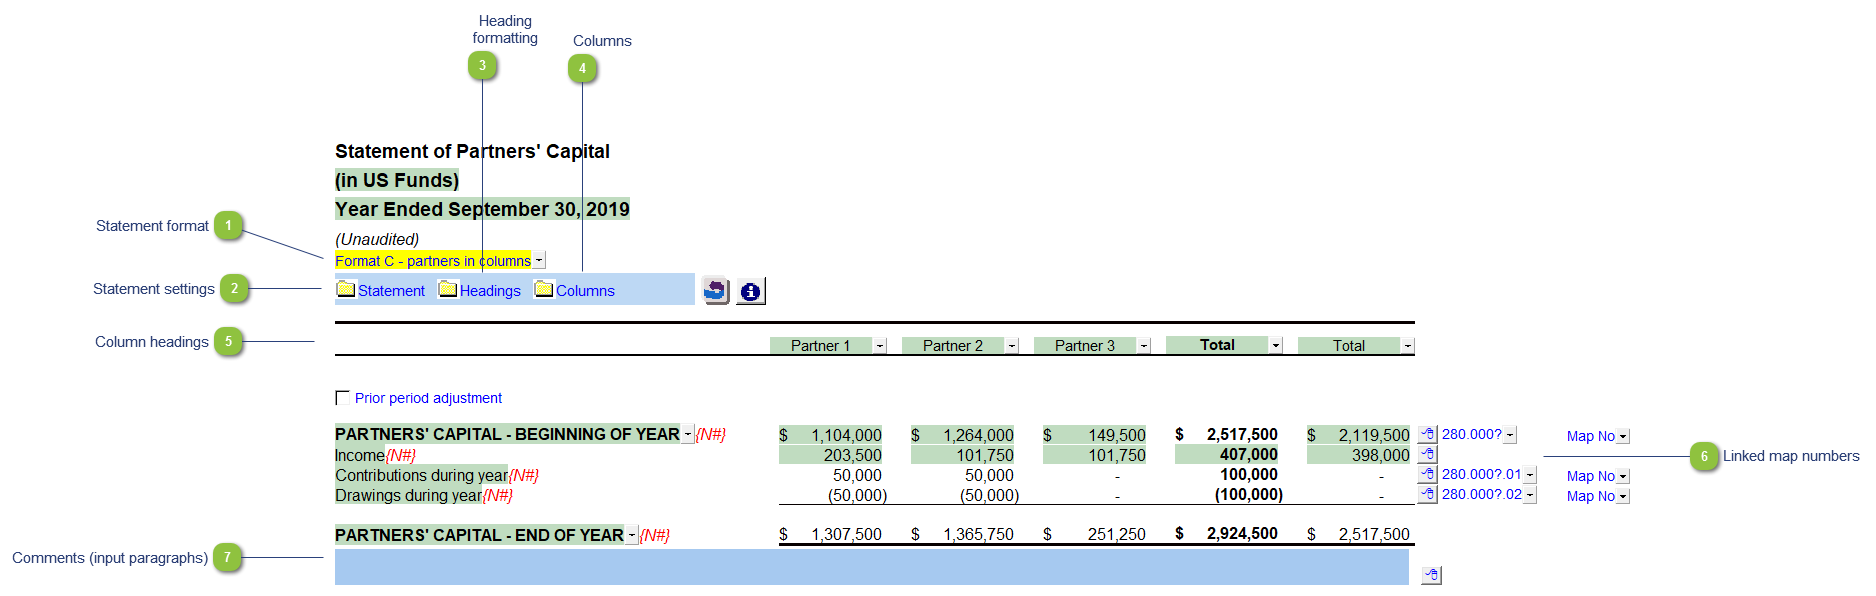
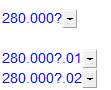
This format will pull in account numbers assigned to the Partners' Capital map numbers (280.0001 - 280.0007) for each column respectively. The columns can be setup separately from the Income Statement column setup in the column settings section of the Home Menu.
Statement format
Use the yellow popup menu to select one of three statement formats:
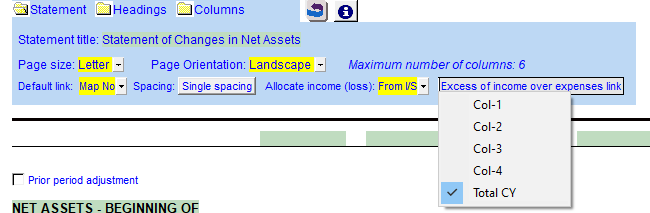
The statement settings provide additional options for the Statement of Partners' Capital.
Statement title: Use the popup menu to choose an alternative statement name or manually enter the name in the input field. The statement name changes depending on the type of structure selected in the Client Profile section of the Home Menu.
Page size and orientation: The page size and page orientation is set depending on the number of columns selected. The following restrictions exist for printing the Statement of Partners' Capital:
The maximum number of columns available for Letter / Landscape is 6
The maximum number of columns available for Legal / Landscape is 9
The maximum number of columns available for Letter / Portrait is 4
Default link: The default link is set to link to the map numbers (280 ~ range). Select an alternative default link if desired.
Spacing: Click on the button to switch between double and single spacing.
Allocate income (loss): If the same column selection exists on the Income Statement and the Statement of Partners' Capital you will have the option to either allocate the income or loss from the Income Statement or manually enter the allocation. Use the yellow popup menu to select which method you want to use. If the column selection differs between the Income Statement and the Statement of Partners' Capital then you will need to manually allocate the income or loss. An input field is added to the column section. Manually input each amount above the respective column. The first column balance will be adjusted accordingly.
Income Link: Select a specific column Net Income to transfer to the Statement of Partners' Capital.
The headings for the Statement of Partners' Capital can be formatted. Refer to Statement Section Headings Formatting for more information on the options available.
Click on the folder icon to show the column settings.
Click on the checkboxes above each column to print or skip selected columns. You can allocate the amounts by manually allocating the net income (loss) in the Allocate income (loss) row.
Use the checkboxes to the left of each heading line to skip or print the headings. Select the heading option you'd like to print using the popup menus. The following headings are available:
Row 1: Partner name - Manually enter the Partner name into the input cell.
Row 2: Balance type - Consolidated, Report, Unadjusted, Adjusted, Budget and Forecast. This can be used in conjunction with the balance type setting selected in the column settings.
Row 3: Selected period - Year-to-date, Months, Quarters, Periods, etc.
Row 4: Choose show to unaudited or restated in the headings.
Row 5: Description changes based on bucket selection in the column settings.
Row 6: Shows the year-end. You can also choose to show the balance type here.
You can edit existing input paragraphs or insert more paragraphs using theexpress menu. Refer to Input Paragraphs for more information on inserting paragraphs.