Statement of Changes in Net Financial Assets (Debt)

|
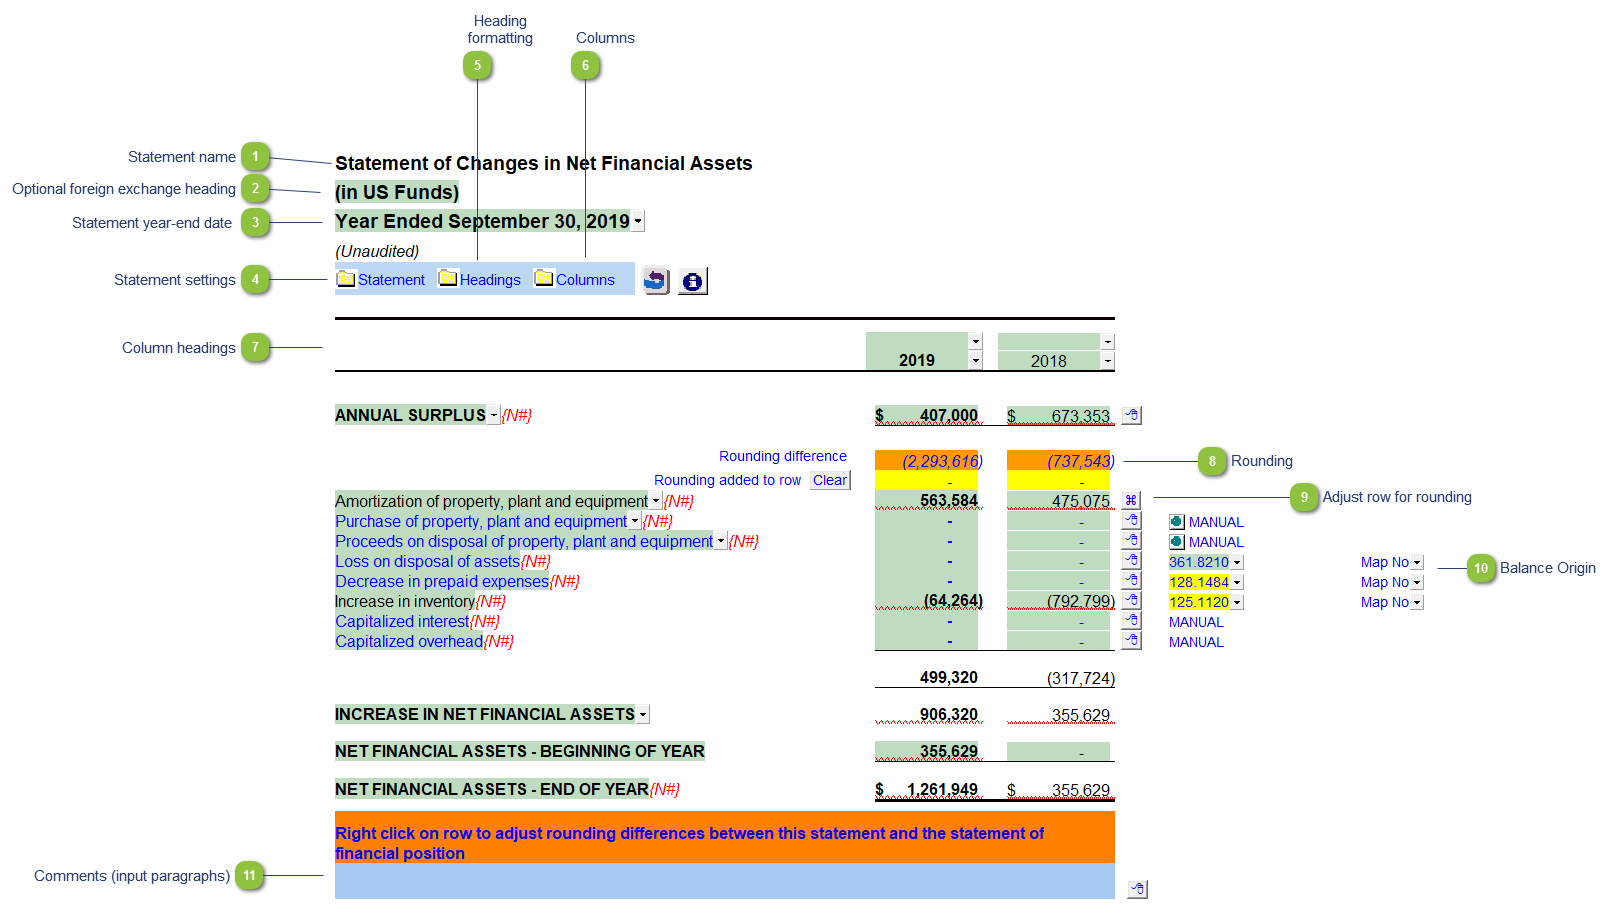
The title and format will change depending on the structure selected under the Client profile section of the Home Menu. You can also override the default statement name manually should you desire.
|
|
The foreign exchange heading pulls from the selections made in the Columns section of the Home Menu. Double-click on the cell to jump to the Home Menu.
|
|
The statement year-end date is automatically calculated based on the reporting dates set in the Engagement Properties dialog. Use the popup menu to display an alternative date format.
|
|
The statement settings provide additional formatting options for the section headings. Refer to Statement Section Headings Formatting for more details on the available options.
|
|
The headings for the Statement of Changes in Net Financial Debt can be formatted. Refer to Statement Section Headings Formatting for more information on the options available.
|
|
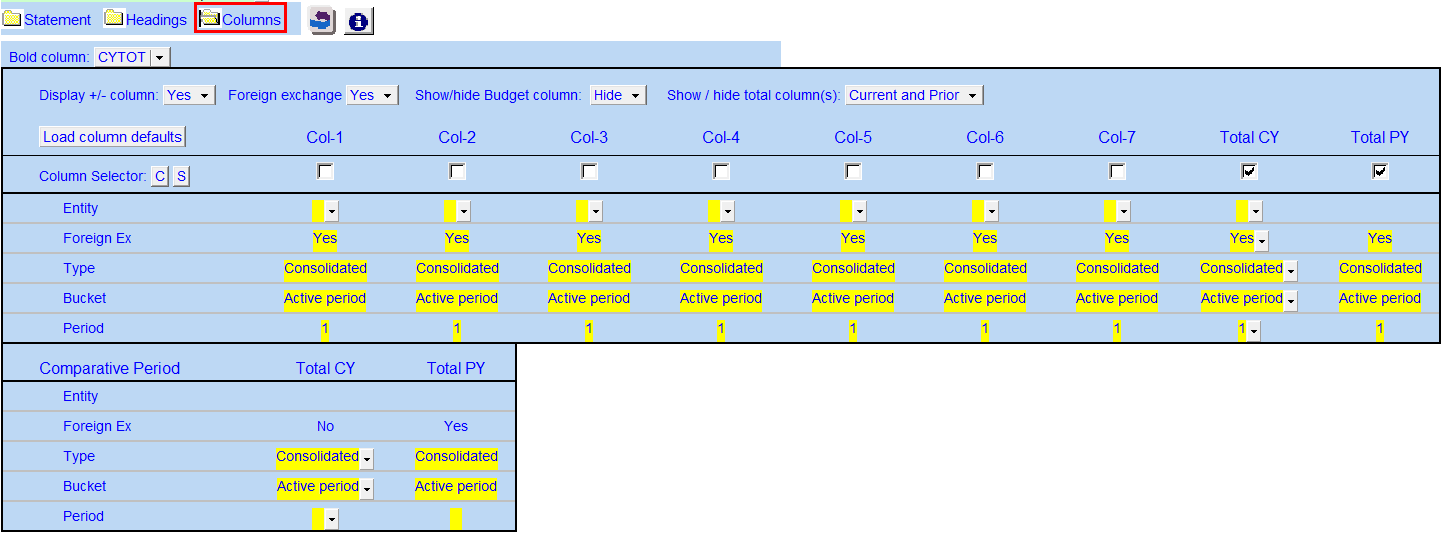
Click on the folder icon to show the column settings. In addition to setting the column headings, you can jump to the global column settings.
 Use the controls to setup the required number of columns and its required settings. Refer to 9 Column Statements with Budget Column for more detailed information on the column settings.
Comparative period: Used to calculate the comparative amounts.
|
 Use the checkboxes to the left of each heading line to skip or print the headings. Select the heading option you'd like to print using the popup menus. The following headings are available:
 Row 1: Entity name - This is populated from the Engagement > Consolidate dialog in Caseware.
Row 2: Balance type - Consolidated, Report, Unadjusted, Adjusted, Budget and Forecast. This can be used in conjunction with the balance type setting selected in the column settings.
Row 3: Selected period - Year-to-date, Months, Quarters, Periods, etc.
Row 4: Choose show to unaudited or restated in the headings.
Row 6: Shows the year-end. You can also choose to show the balance type here
|
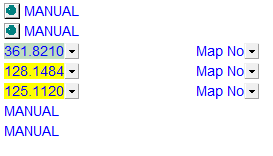
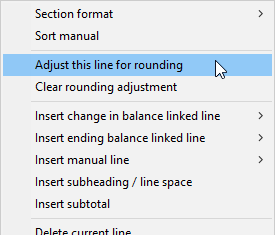
 If you would like to know where a balance is coming from, review the link information on the right side of each line. Refer to Balance origin for more information. Yellow cells indicate change in balance and green cells indicate closing balances. Use the express menu to add more rows.
|
|
You can edit existing input paragraphs or insert more paragraphs using the express menu. Refer to Input Paragraphs for more information on inserting paragraphs.
|

