Using the Additional Schedules (Schedules 21 – 30)
If you have used all the 20 schedules in the Jazzit financial statements and you need more schedules, you can add up to 10 extra schedules to the financial statements using the additional schedules.
-
Once you have copied in the new additional schedules into the client file using copy components, open the Jazzit financial statements.
-
Click on the Admin tab in the Home Menu and make sure that you update the Index to the financial statement and the Balance sheet, I/S, Exp Sch, Stmt of R/E before inserting the additional schedules.
-
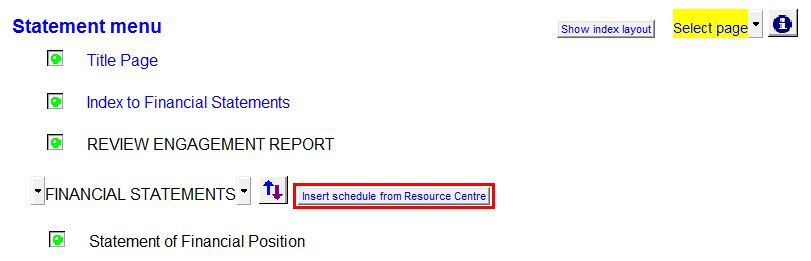
Jump to the Statement Menu and click on the Insert schedule from Resource Centre button.
-
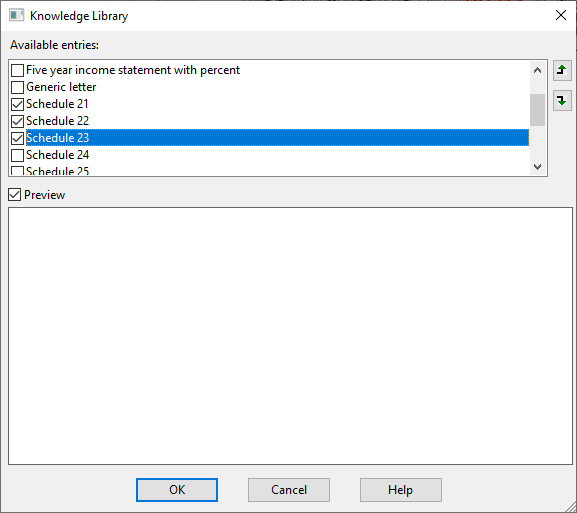
Schedules 21 – 30 and the generic letter will be available for selection, choose the number of additional schedules you want to add and click OK.
-
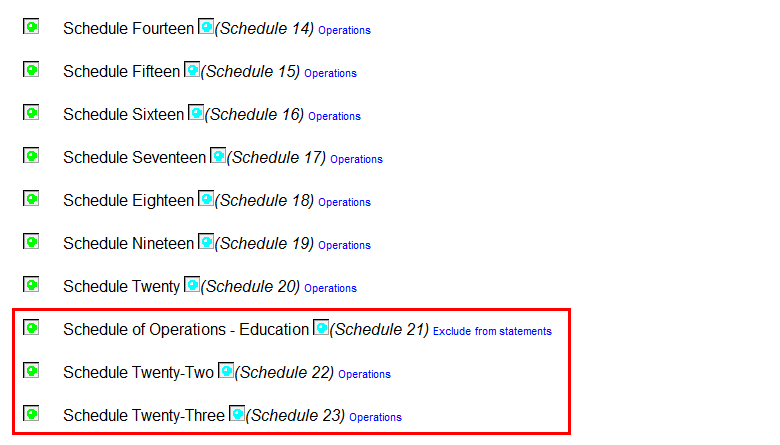
The schedules are added to the bottom of the Statement Menu. The generic letter will be inserted after the Engagement Report. Double-click on the schedule description to jump to the schedule.
-
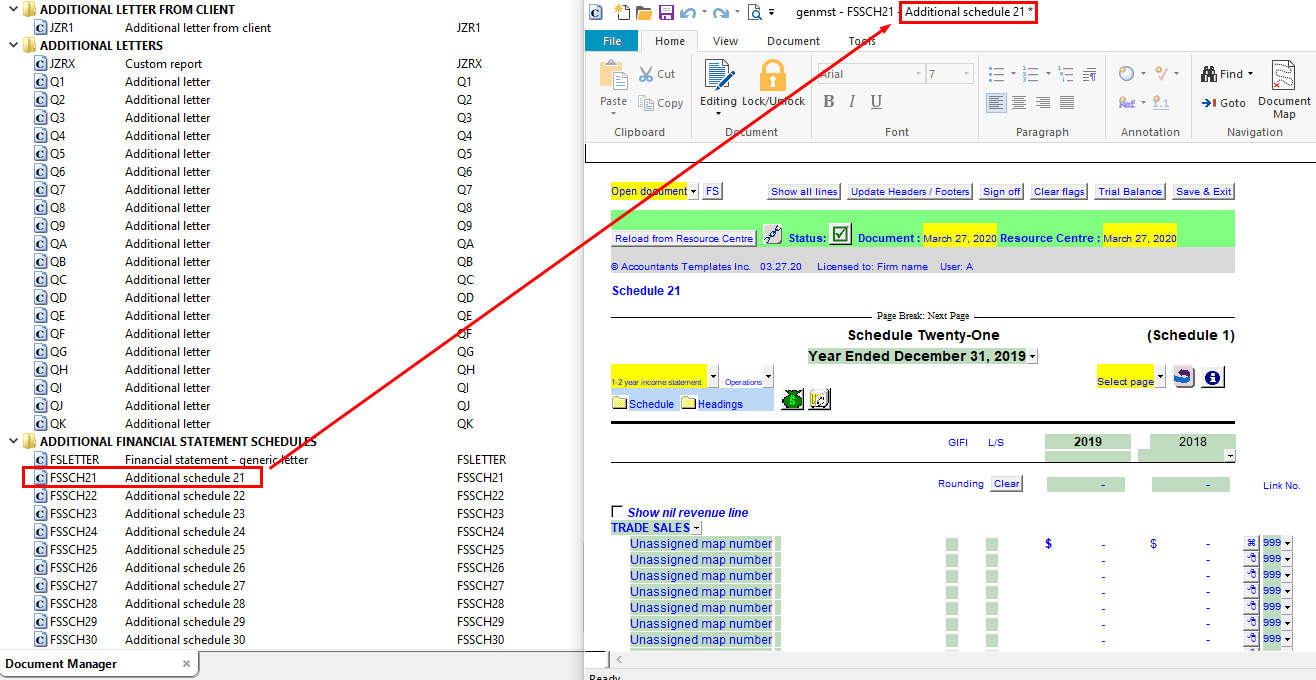
Notice that the schedule opens as a separate document from the Jazzit financial statements. This is the documents located on your Document Manager.
-
You can continue to setup the schedule as you would schedules 1 – 20.
-
When you scroll through the Jazzit financial statements you may see the following:

-
This indicates that an additional schedule was used. As mentioned previously, the additional schedules are linked externally to the Jazzit financial statements. You can double-click on the icon to open the schedule.
-
Click on the delete button (as indicated by the red arrow) to delete the schedule link from the Jazzit financial statements. The schedule will still be in the Document Manager but all links to the Jazzit financial statements will be removed. Amounts on the schedule will still be populated.