Balance Sheet (9-column Statement Format)
The 9-column Balance Sheet format allows you to show up to 7 columns + a current year and prior year total or 1-9 columns that can be individually setup. Refer to 9 Column Statements with Budget Column on how to setup the 9-column statement format.
This statement can be used when preparing Not for Profit, Public sector or Combined/Consolidated financial statements.
The same functionality exist on the 9-column statements and the 2 year with % statement formats with the exception of the following items:
When the Financial Statements is set to Public Sector in Home menu > Client Profile. The Balance Sheet will become Statement of Financial Position (Public sector)
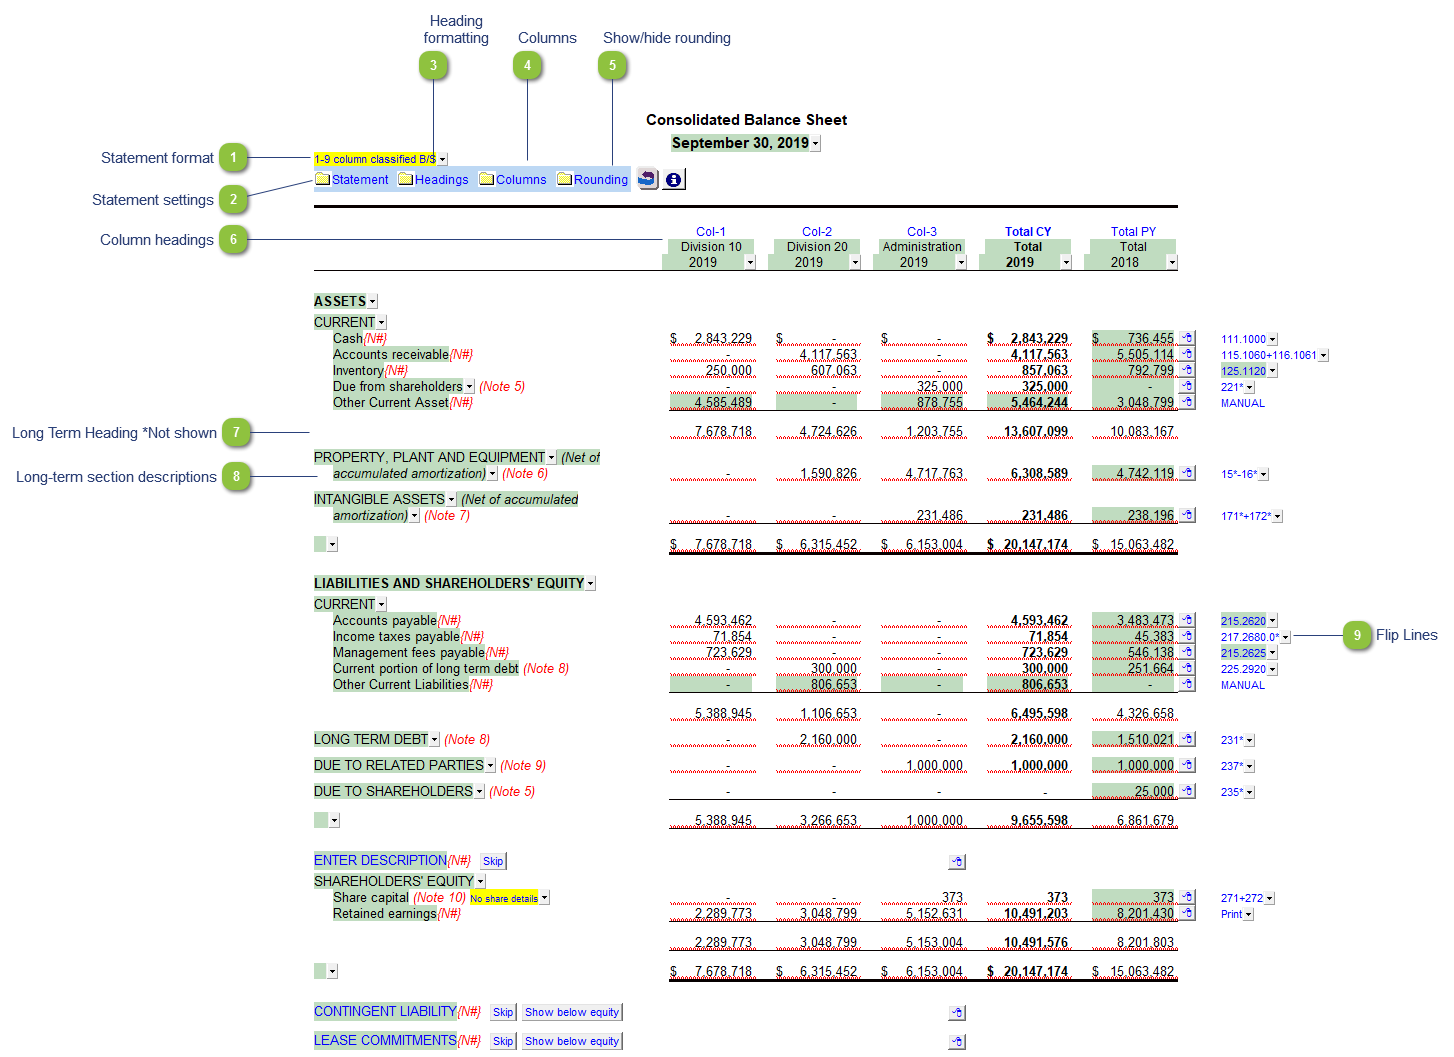
Statement settings The statement settings provide additional options for the Balance Sheet.
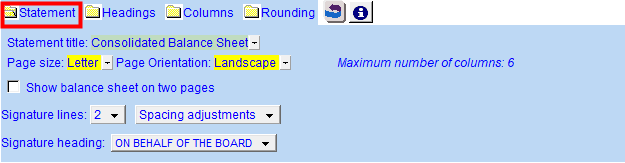 Statement title: Use the popup menu to choose an alternative statement name or manually enter the name in the input field. The statement name changes depending on the type of structure selected in the Client Profile section of the Home Menu.
Page size: The page size and page orientation is set depending on the number of columns selected. The following restrictions exist for printing the Balance Sheet:
Reminder to link to generic note number: Select to switch the reminder on or off. This will give you a warning message when connecting a generic note to remind you to link the note number reference to the statement if applicable. This option is only available if only the total CY and PY columns are selected.
Show balance sheet on two pages: Split the balance sheet on 2 pages with the asset section on the first page and the liabilities/equity on the 2nd page. This is useful for presentation purposes when only a small portion of the balance sheet is on the 2nd page. This option can also be found in the Home menu in the Page options category.
Signature lines: Set the dropdown to manual for more find grained control over signatures in the balance sheet. Control spacing around signature lines, # of signature lines and whether dual signatures are stacked or side by side.
|
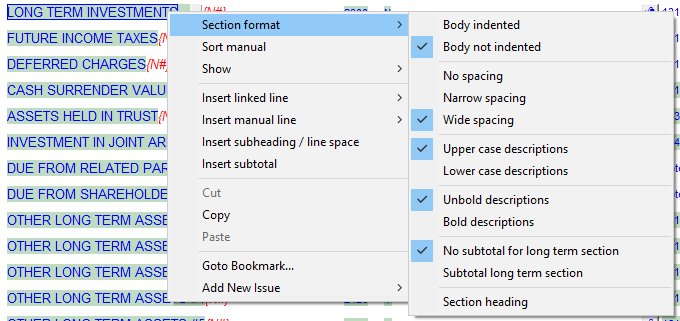
Heading formatting The headings for the Balance Sheet can be formatted. Refer to Statement Section Headings Formatting for more information on the options available.
|
Columns Click on the folder icon to show the column settings. In addition to setting the column headings, you can jump to the global column settings located in Home menu > Columns.
 |
Show/hide rounding Click on the folder icon to show/hide the statement rounding options.
|
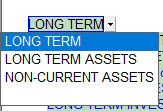
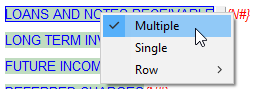
Column headings  Use the checkboxes to the left of each heading line to skip or print the headings. Select the heading option you'd like to print using the popup menus. The following headings are available:
 Row 1: Entity name - This is populated from the Engagement > Consolidate dialog in Caseware.
Row 2: Balance type - Consolidated, Report, Unadjusted, Adjusted, Budget and Forecast. This can be used in conjunction with the balance type setting selected in the column settings.
Row 3: Selected period - Year-to-date, Months, Quarters, Periods, etc.
Row 4: Choose show to unaudited or restated in the headings.
Row 6: Shows the year-end. You can also choose to show the balance type here.
|


Flip Lines See Flip Lines for more information.
|