Note: Set the company structure to Public sector under Home Menu > Client Profile to access the Statement of Accumulated Surplus
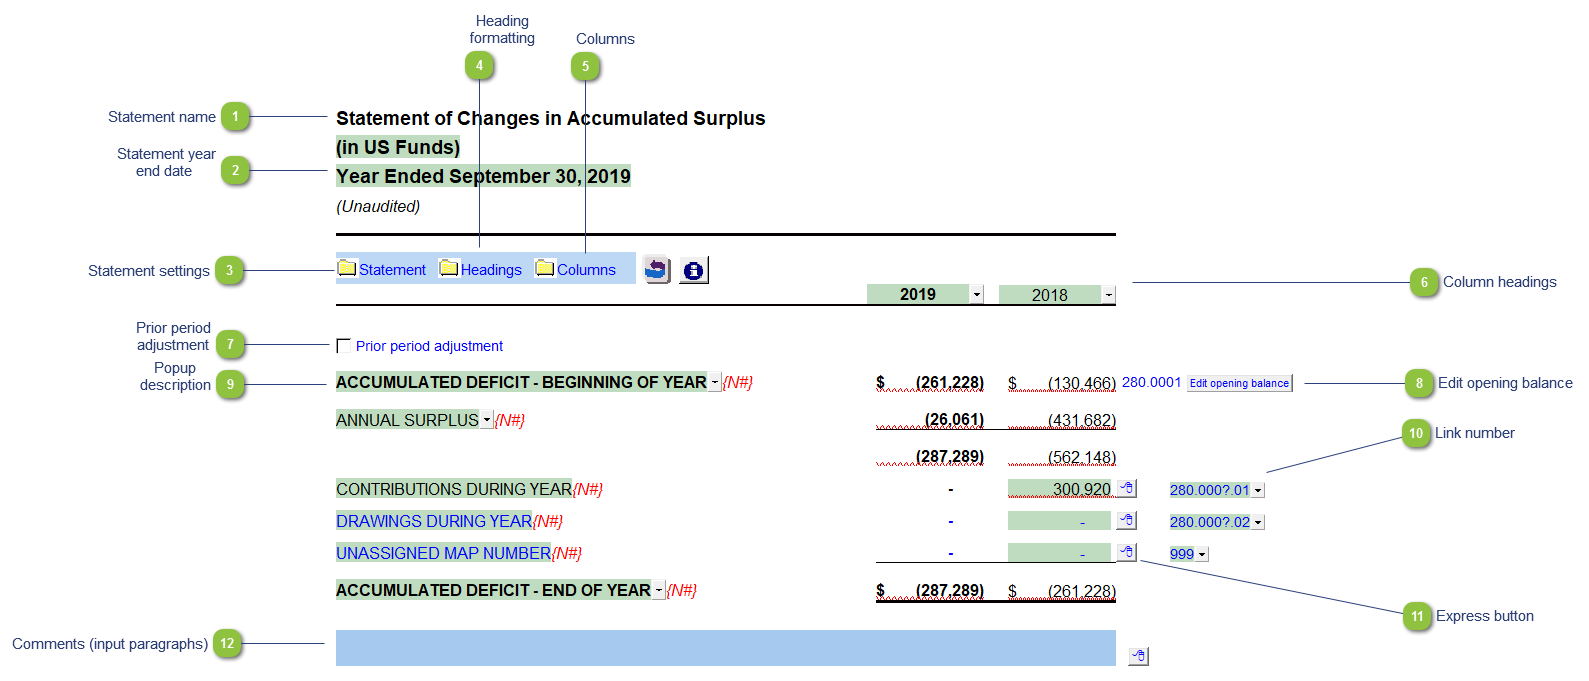
Statement name
Use the popup menu to choose an alternative name for the Statement of Accumulated Surplus (Deficit). The selection you make will be updated in the Engagement Report, Letters and wherever the Statement of Accumulated Surplus (Deficit) title appears. The title and format will change depending on the structure selected under the Client profile section of the Home Menu. You can also override the default description manually if your choice of description is not available.
When you choose a prefix for the statements (i.e. consolidated, proforma, etc.) in the Page options section of the Home Menu, this prefix will automatically appear before the Statement of Accumulated Surplus (Deficit) name.
The statement year-end date is automatically calculated based on the reporting dates set in the Engagement Properties dialog. Use the popup menu to display an alternative date format.
The statement settings provide additional options for the Statement of Accumulated Surplus (Deficit).
Statement title: Use the input field manually enter the name. The statement name changes depending on the type of structure selected in the Client Profile section of the Home Menu.
The headings for the Statement of Accumulated Surplus (Deficit) can be formatted. Refer to Statement Section Headings Formatting for more information on the options available.
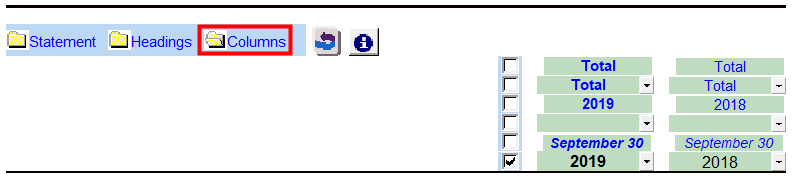
The column headings appear at the top of the Statement of Accumulated Surplus (Deficit). The content of the first two rows are generated from the Engagement Properties settings in Caseware and the Short year section of the Home Menu. The cells can also be manually overridden if necessary.
Use the checkboxes to the left of each heading line to skip or print the headings. Select the heading option you'd like to print using the popup menus. The following headings are available:
Row 1: Entity name - This is populated from the Engagement > Consolidate dialog in Caseware.
Row 2: Balance type - Consolidated, Report, Unadjusted, Adjusted, Budget and Forecast. This can be used in conjunction with the balance type setting selected in the column settings.
Row 3: Selected period - Year-to-date, Months, Quarters, Periods, etc.
Row 4: Choose show to unaudited or restated in the headings.
Row 5: Description changes based on bucket selection in the column settings.
Row 6: Shows the year-end. You can also choose to show the balance type here.
Turn on the presentation required for prior period adjustments by checking the box. If you need to show a prior period adjustment you cannot combine the Statement of Accumulated Surplus (Deficit) with the Income Statement. Refer to Prior Period Adjustments for detailed information on posting and showing prior year adjustments in Caseware and Jazzit.
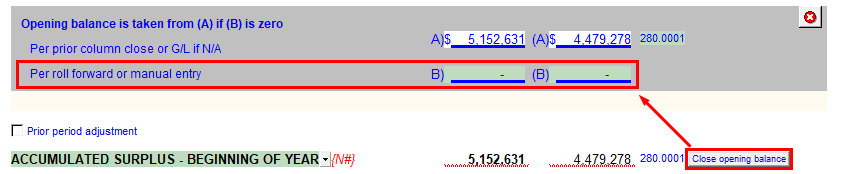
The opening balance for retained earnings in the prior year comes from the trial balance in Caseware. If you need to revise the balance and you do not wish to make an adjustment through the trial balance in Caseware, you can click on the Edit opening balances button on the right side of the opening retained earnings line. A new section will open where you can manually type in the balance for either the current or prior year retained earnings number.
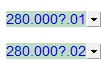
The link number indicates which linked number (i.e. map number) the row is linked to. Use the popup menu to select a link number. Refer to Balance Origins for more information.
You can edit existing input paragraphs or insert more paragraphs using the Express menu (). Refer to Input Paragraphs for more information on inserting paragraphs.