Inserting Schedules into the Jazzit Financials Statements
-
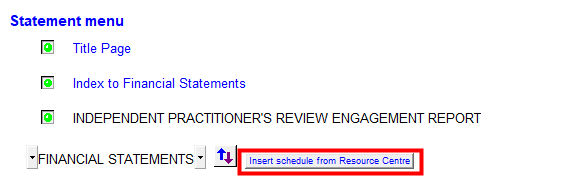
In the financial statement template, move to the statement menu and click on the Insert schedule from Resource Centre button.
-
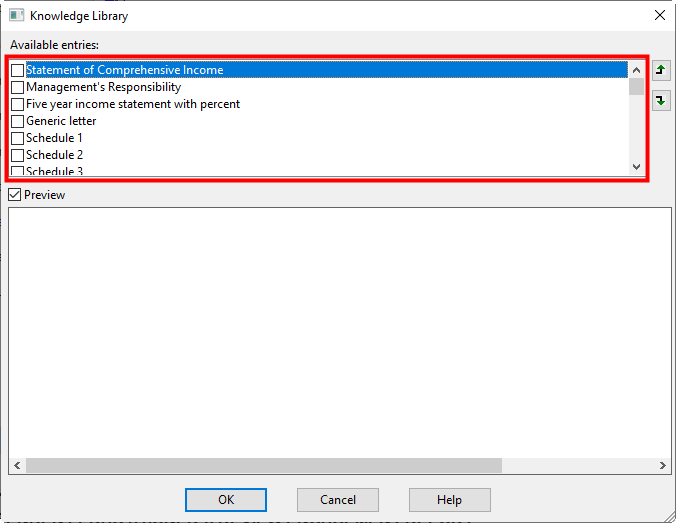
A new dialog will open. Choose which and how many schedules you want to add by checking off the checkbox(es) to the left of each schedule.
-
Click OK to insert the schedules.
-
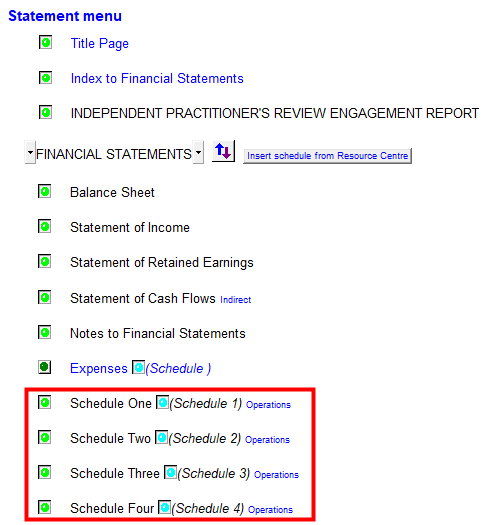
Once the new schedules have been added to the client file, it will appear at the bottom of the Statement Menu. You can use the Sort button to sort the schedules into position if required.
-
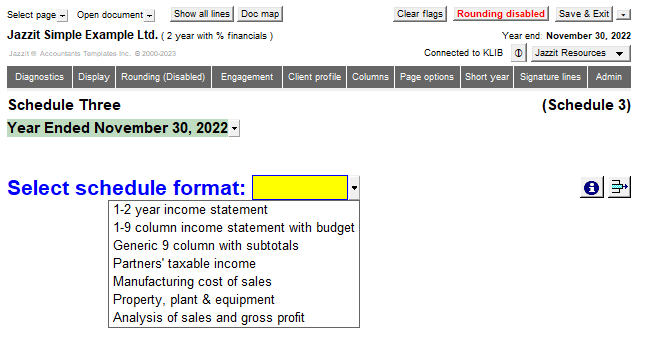
Jump to the new schedule by double-clicking on the schedule name on the Statement Menu or use the Select Page popup menu and select the schedule you want to jump to.
-
Select the desired format using the popup menu located above the schedule.